*** IF YOU ARE NEW TO PORCELAIN … VISIT "SUPPORT FORMS’ LESSON BEFORE YOU BEGIN MAKING WORK.
There are thousands of ways to create Artwork using a Nerikome process. I cannot cover them all, but I can give you three tips to improve your success rate.
1. HUMIDITY - You must control humidity. If you start with your clay at various levels of moisture your project is doomed from the start. Many keep going thinking it will all be OK in the end, but this seldom works.
2. RELAXING – If you roll the clay out you have to let it relax for about 15-20 minutes. During that time it will shrink back a lot … better to have this shrinkage happen before attachment rather than after
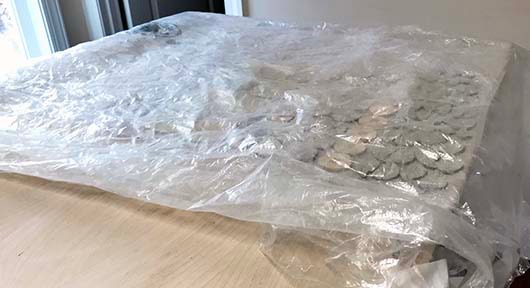
3. WAITING – After the piece is built, wrap it in plastic and wait at least a day, preferably two, before opening it and letting the piece air dry.
BEFORE YOU BEGIN BUILDING, MAKE A HOLDING AREA
This is an area on your work surface to keep the clay pieces evenly moist as you work.
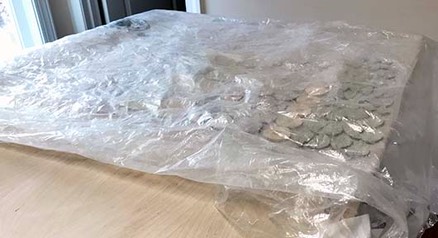
It's basically plastic, then a damp towel covered by more plastic.
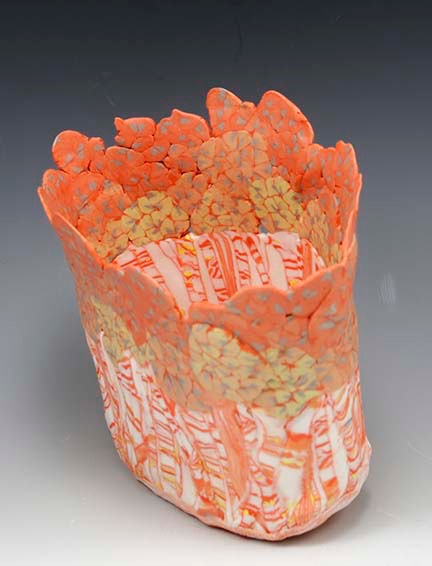
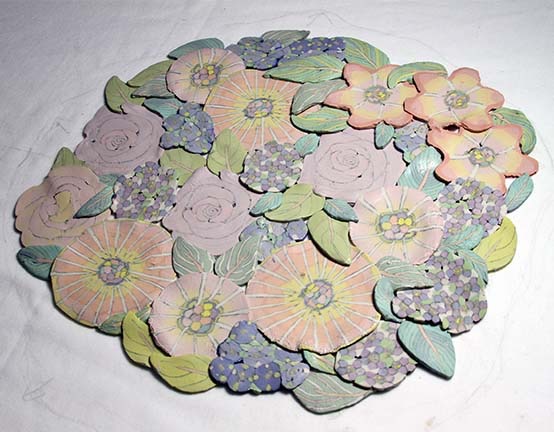
Making unique work from small cane slices
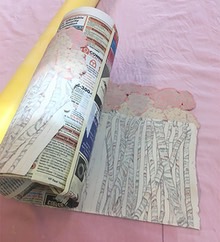
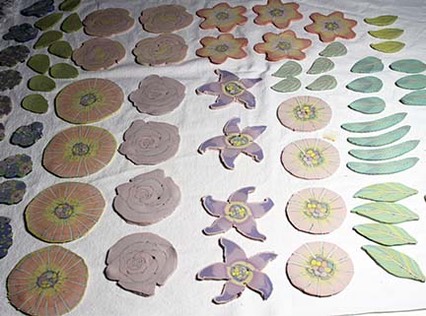
The first thing I do is slice a number of the canes and place them on a damp towel, under plastic. I also cut any white slabs I will be using and place them here as well. While you are working, the humidity will remain constant.
Constant even humidity is crucial. f you are using several canes they will not be at exactly the same humidity so this step lets them equalize. Having your canes and clay at the same humidity level increases your chance of success.
HOW TO MAKE A CUP or VASE
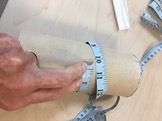
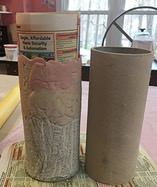
I use a hollow cylinder for cups and some vases.
First measure the circumference of the cylinder you want to use. Mark it on the tube for future reference.
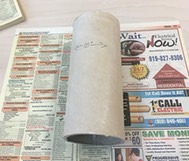
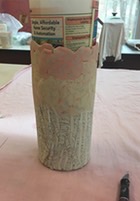
Now wrap the cylinder with paper.
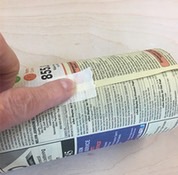
If you need to join two sheets use tape but make sure the tape does not contact the form you are using
The bottom is a loosely wrapped, open area.
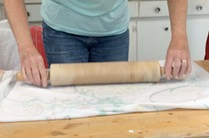
I work on old bedsheets. The main reason is they do not leave any textures on the finished piece and when they are wet you can see through them.
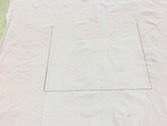
With a pencil I draw the outline of the size of clay I will need to make the cylinder. I lightly spritz it with plain water to dampen the sheet.
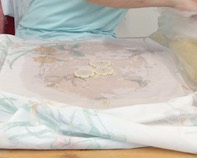
Then I lay out the pieces of patterns on the damp sheet just enough to almost cover the outline I have drawn.
I cover it with the sheet, spritz the top sheet to dampen it. Do not wet the clay as this will just make it sticky.
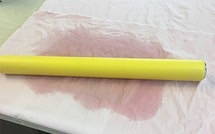
GENTLY roll over the canes to join them. Press straight down, do not stretch it out.
Press down not side to side.
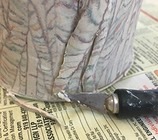
At this point I highly recommend letting the clay rest.
It will quickly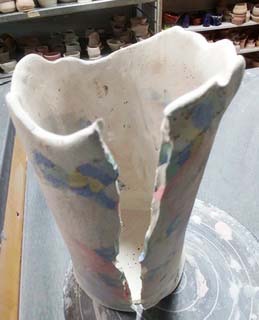 shrink back a bit. Better this action happens flat on the table then after you make your seam connection.
Otherwise the stress of this shrinkage will cause a crack like this as it shrinks/dries.
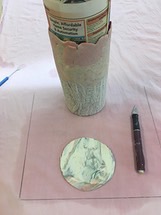
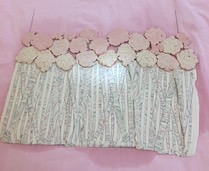
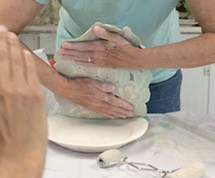
Cut a plain or patterned piece of clay a little bigger than the bottom of the cylinder and let it rest under your plastic.
Now, gently roll that clay pattern around the paper covered cylinder and join lightly by dampening and lightly scoring with a soft toothbrush.
Your work will be wet enough that you will not need heavy scoring.
Get the piece you cut for the bottom. Spritz it lightly with plain water and lightly score all around the outside of it. Place your cylinder on top of it and press lightly to seal. Gently roll it with a small rolling pin to seal it well.
Cut very close to the bottom all the way around and use rolling pin to smooth the joined area. Roll gently to establish a slight roundness to the bottom. Always want to have that slight shadow at the base of a pot.
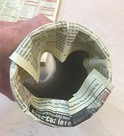
Move your cylinder to the drying shelf before you pull the support as it will be quite soft. you cannot leave it in the form to set up because the shrinkage will prevent you from removing the cylinder support. Put your hand inside and gently pull out the support form leaving the paper behind.
Cover it snugly with plastic and leave it for two days. Open and loosely cover it with plastic so as to dry SLOWLY. It is fine to leave the paper in place as it will burn out in the firing.
Do not rush the drying as it will pay off with no cracks and a successful piece.
https://digitalfire.com/article/drying+ceramics+without+cracks
HOW TO MAKE A PLATTER OR WIDE BOWL
I outline the platter or bowl form I will use on an old bedsheet. I make my own bisque bowls as support forms. They have a coat of kiln wash on them and can also go into the kiln to be fired.
The first thing to do is to cut your canes and place them on a damp towel, under plastic nearby.
I spritz the bedsheet I am going to build the form on before I start so the clay will not dry out as I work.
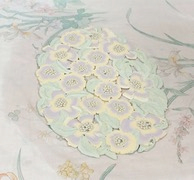
I place the canes within the outline I drew to mark the size of the bowl.
Then I cover it with the sheet and lightly spritz again. Do not wet the clay directly as this just makes a sticky mess.
Roll the clay in a downward motion to connect the pieces. Do not stretch it outwards.
Gently lift the piece and place it in the form.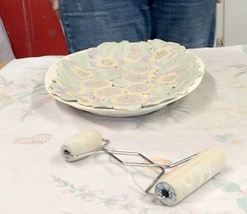
Do not let it hang over the edges as this might cause cracks as it dries.
*CLICK HERE to learn about ‘DRYING YOUR WORK'