CLICK here for a FREE video of this topic. I present much more detail for you in the video.
HOW TO CHOOSE YOUR CLAY
You can color any clay body whether it is wet or dry. White clays firing at or above Cone 5/6 provide vibrant color results but clays of all types … buff colors and speckled … also give terrific results. I prefer to mix the stains into wet clay bodies but many people mix them with dry clay.
HOW TO CHOOSE YOUR STAINS
The Mason Stain Company has a very informative web site with colors recommended for clay bodies. These colors are guaranteed to work but many other stains do as well.
http://www.masoncolor.com/ceramic_stains.asp
That said, please take a minute to
read the Mason reference guide
Check out what those small numbers mean as there are some stains that just will not work with clay bodies. Good to know before you buy.
Buy small samples and test them first with your clay body. There is no way of being 100% sure of color results without taking time to test.
HOW MUCH STAIN TO USE?
The dark colors require less stain than light colors.
For blacks, dark blues and greens I use about 5-8% stain. For yellows, pinks, mauves I use between 12-20% stain.
I prefer mixing a high concentration of stain because it is much easier to store 1 lb of concentrate vs. 12 lbs. of pastel shades. Properly stored the clay will last forever and it is very easy to knead in some white clay to get the color you want.
Some of my favorite Mason Stains with percentages.
#6020 Pink @ 12 –16 %
#6450 Yellow @ 12 – 16 %
#6300 Mazarene Blue @ 5 – 8 %
#6242 Bermuda Green @ 12 – 16 %
#6376 Robins Egg Blue @ 12 - 16%
#6304 Chrome Tin Violet @ 12 - 16%
#6027 Tangerine @ 12 - 16%
#6026 Lobster @ 12 - 16%
#6030 Mango @ 12 - 16%
#6097 Dark Red @ 12 - 16%
#6600 Black @ 5 – 8%
HOW DO YOU CALCULATE THE % OF STAIN/
Say you want 10% stain, then that would be 10 grams of stain to 100 grams of wet or dry clay. I really don’t think it is crucial to use one or the other type of clay. As long as you make tests of your colors and keep records, you will be able to repeat the results no matter how you mix it. You can use the same %of stain to make colored slips.
HOW TO MIX STAINS INTO CLAY
Even though it is a messy job, it is also a very simple job. Make sure you wear a mask when dealing with dust whether it is stains or silica.
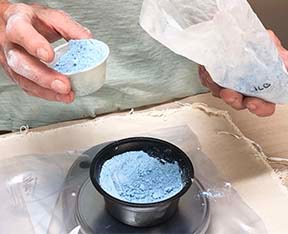
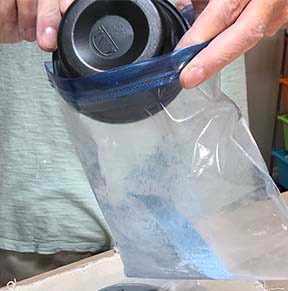
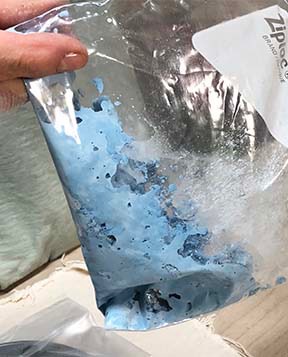
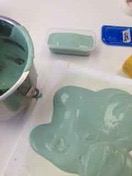
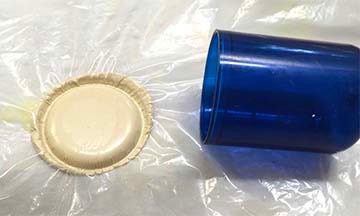
1. In order to minimize the dust problem, mix the Mason stains in a sealed plastic bag with just enough water to create a creamy solution.
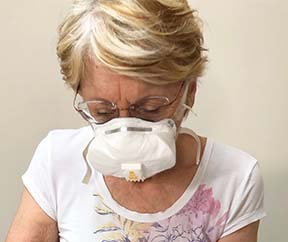
CAUTION:
Do no breathe the dust from Mason Stains or dry sand the finished colored clay without a proper N95 breathing mask.
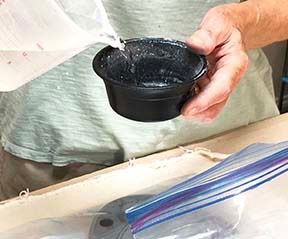
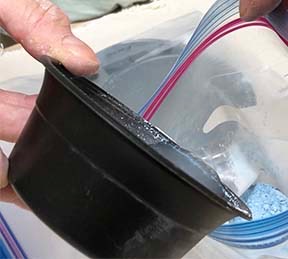
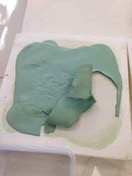
2. Create a well in nice, soft clay and pour in the mixture. Knead the clay until you like the color result. Messy, but easy.
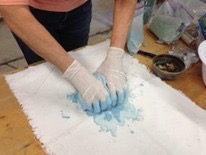
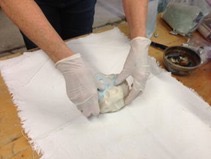
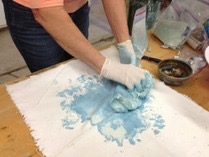
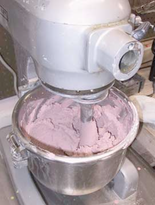
I use a large commercial machine to mix the stain/clay solution until the color is even throughout the clay body. You want the finished clay to be soft as cookie dough. My mixer is a Hobart A120T and is 1/2 hp.
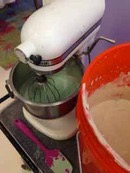
Some potters buy an old stand mixer and use it in the studio to mix a very thick slip. Stick to cake batter thickness.
Once you use a mixer in the studio, it never goes back in the kitchen.
Then, they let this mixture dry.
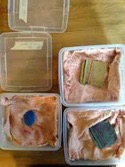
Keep the colored clay wrapped in a damp cloth and double bagged in plastic, or in sealed plastic containers. Check regularly to keep the clay moist.n Even if it dries out to a brick, you can still re-hydrate it and use it.
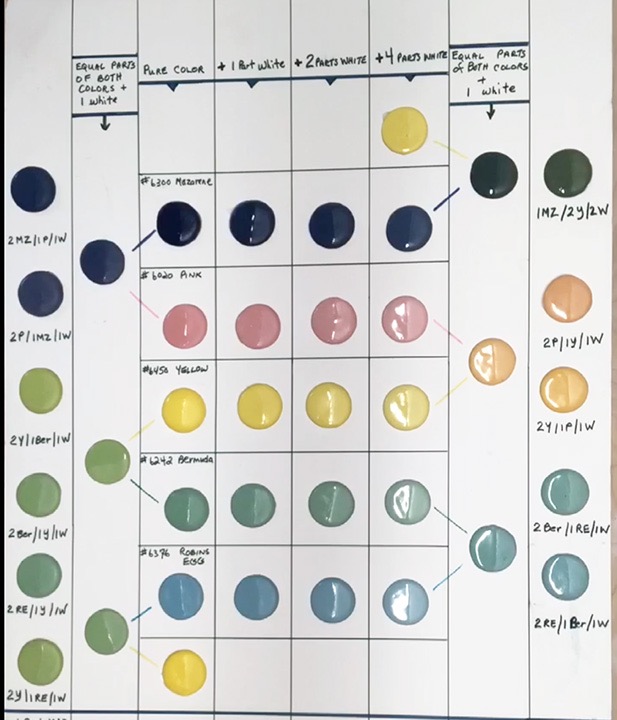
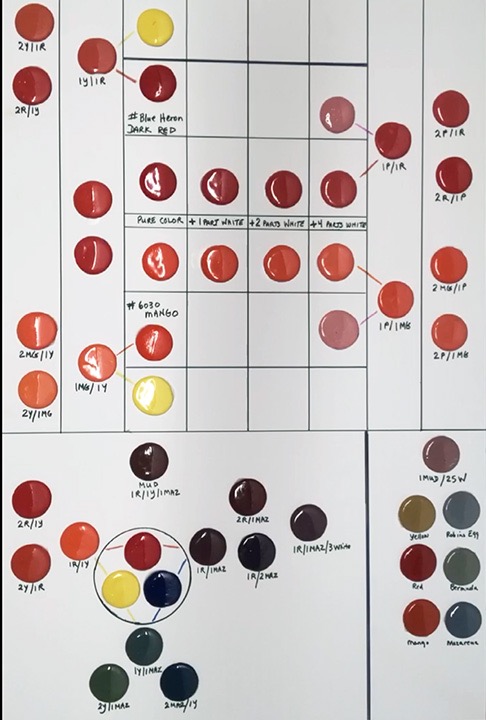
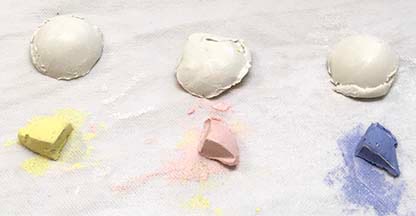
Make sample discs of each color for reference.

1W : 1Color
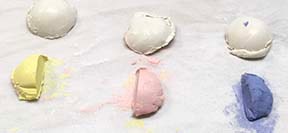
2W : 1 Color
4 W : 1 Color
I make sample discs of the colors combined with white clay and with each other in a range of percentages.

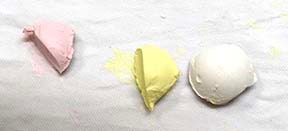
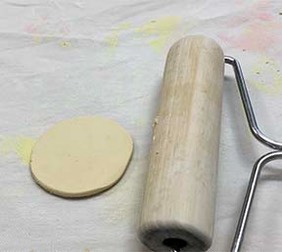
Roll these small samples flat and cut through plastic to avoid a mess.
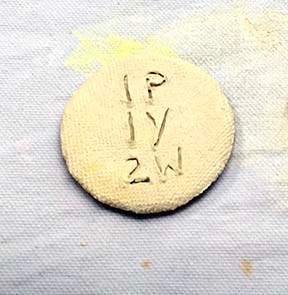
Write the formula on the back of the disc for future reference.
Here are some color test tiles made by Sue Weber, a student in my workshop.
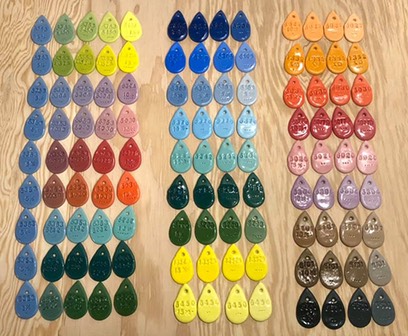
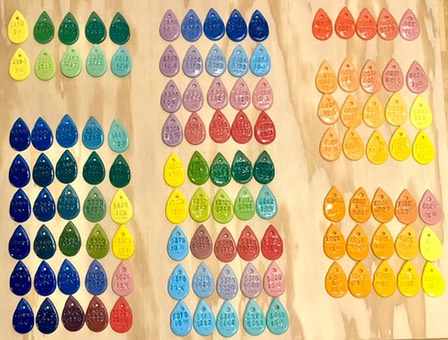
You can expect the color to darken as you fire at higher temperatures. Sometimes, especially with grey when wet white clays you can barely see the color … but it is vibrant at Cone 5-6.
If you like the color when it is wet, then it is too dark and you should add more white clay.
Always mark your storage bags so you don’t confuse it with white clay … yes. it happens.
I hear comments about how expensive stains are but consider that colors last a long time, especially if you are mixing in plain white clay. I keep colors stored in plastic bags for years with no ill effects.
Another area of concern is SAFETY You do have to be careful not to inhale the dry powder while mixing, so use a proper breathing mask while measuring the stain. After the stain is wet and creamy, they are safe to work with and fire. Some people choose to wear latex gloves but most do not notice any irritation.
A good precaution is to make sure any open cuts on your hands are sealed by liquid bandage or gloves.
Another area for dust inhilation concern is dry sanding … you should always be wet sanding.
I have experienced fluxing with some cobalt based stain colors when they are used in a very concentrated form so you do have to prevent them from sticking to the kiln shelf. I sprinkle some alumina hydrate under them when firing these.
IF YOU WANT TO COLOR YOUR CLAY WITH OXIDES I RECOMMEND ROBIN HOPPER’S BOOK “MAKING MARKS”. HE HAS A TERRIFIC SECTION ON THIS.
Thanks to Yvonne Cooper & Sue Weber for images.