There are times when you need to make several pieces with the same pattern. This could be making a set of dishes or matching pieces for a themed series of work.
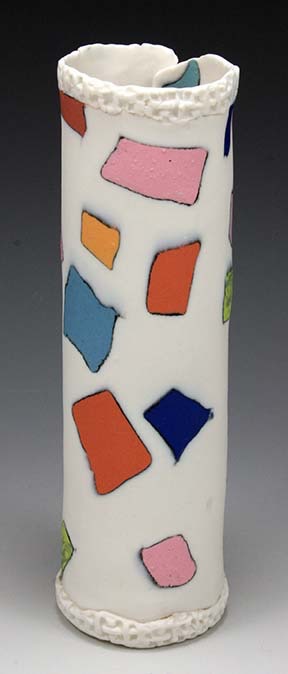
You might want to have your pattern floating in white clay like these.
These are all made from inlaying a pattern into a block of plain clay.
The process is not difficult but you have to constantly wash your hands and check the white clay to make sure your white sections stay white.

Paying attention to keeping the white really white pays off in your results.
Let's start with the planning stages.
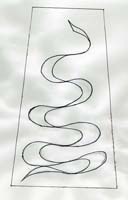
I begin with a sketch.
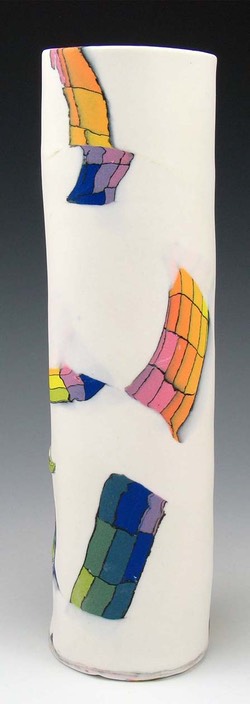
I wanted my design to look like a ribbon falling to the bottom of the vessel.
I wanted the color change to be gradual and for the flow of colors to have movement. This is the preliminary sketch.
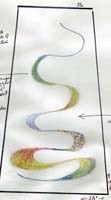
This is a sketch of the actual size the pattern will be on the finished pieces.
All the measurements have been made with allowances for the shrinkage of the Southern Ice Porcelain.
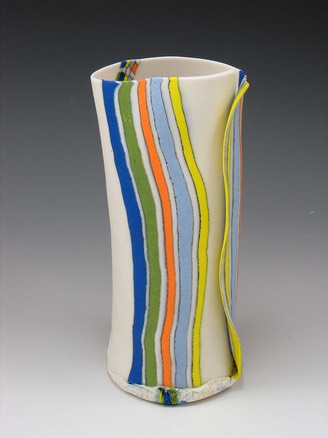
This is the color shift I want to achieve, so the next step is to make Skinner Blends of these colors then make the patterned cane with these colors.
Measure out however much white clay you will need for your forms then wrap it in a damp towel, put it in a plastic bag and leave it to soften.
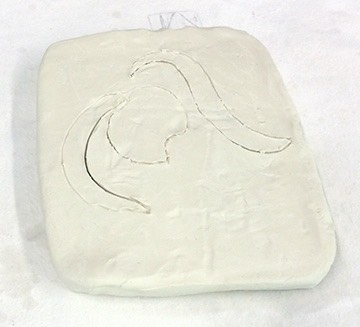
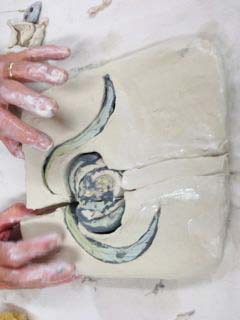
When you have your canes ready, get the block of moist clay, and trace the design on the top with a needle tool.
Then cut through the whole block to place the colors and re-assemble it. Gently tap it on all sides to get the pieces to join together.
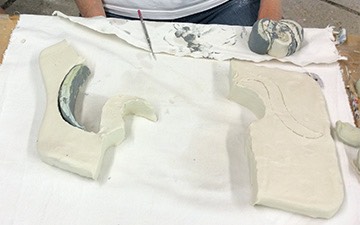
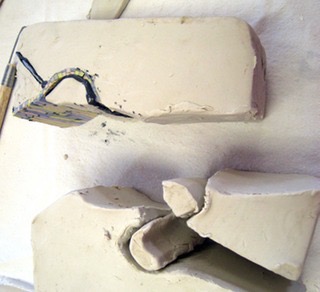
.***This is an example of this process with another pattern block I made. I did not get pictures of the ribbon block as I was making it.
The final loaf will look terrible. Wrap it in a damp cloth, then put in a plastic bag tol rest for a few days until it is evenly hydrated.
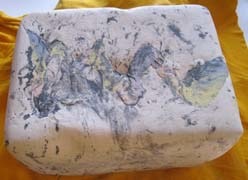

Here is the loaf with a slice in front.
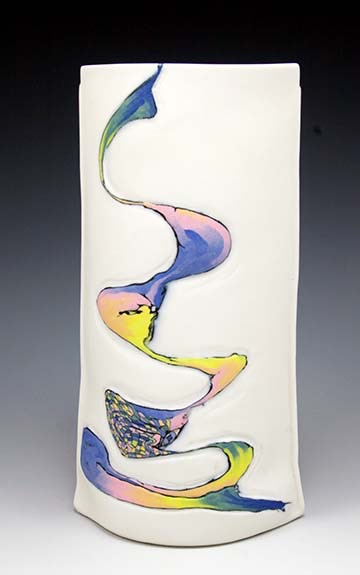
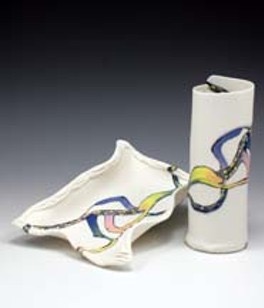
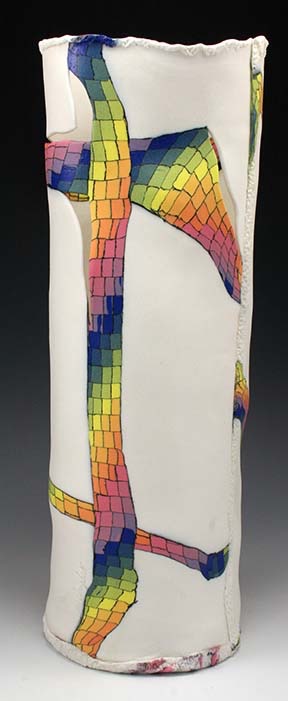
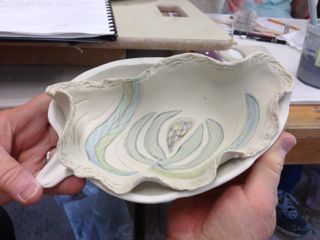
And …. here is a vase made with a slice of the design.
You can see how important it is to keep the white areas clean.

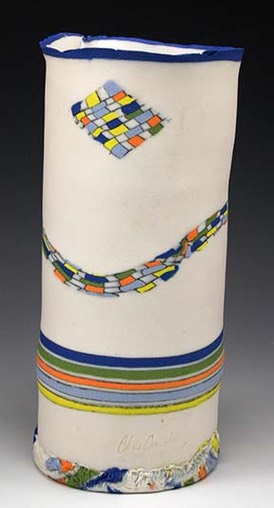
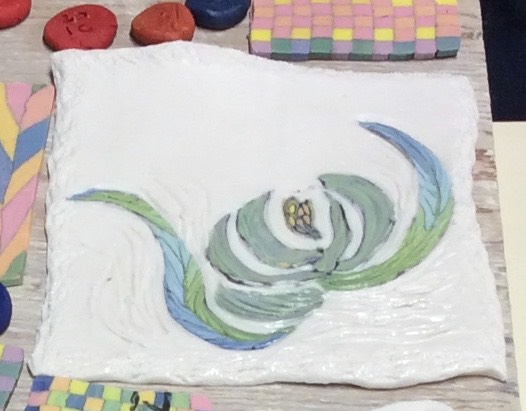
This is a wall hanging made with the same pattern.
The difference is I cut all the white away and placed it on another surface.
Here is the process again with another pattern and a thinner slice of white clay.
STEP ONE - Dampen your work surface to keep the clay moist while you are working.
Mark the clay as a guide for cutting your pattern.
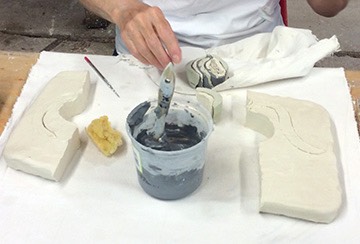
STEP TWO -
cut your colored clay to shape and insert your patterns
STEP THREE - start to inlay the pattern
REMEMBER to keep your hands clean - the black slip gets everywhere!
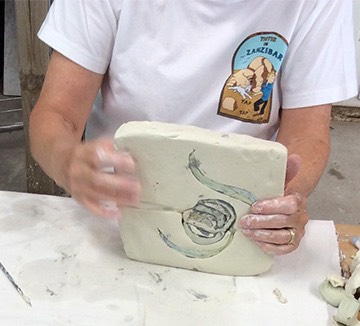
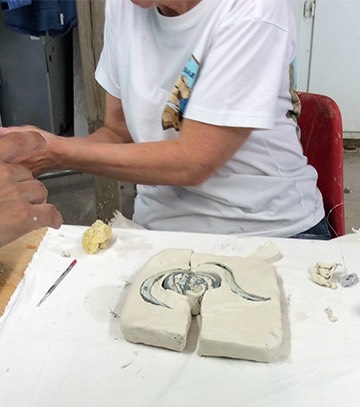
STEP FOUR - gently tap it into shape
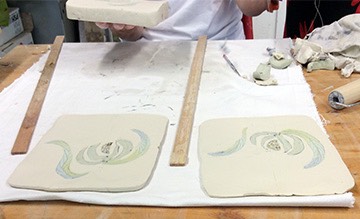
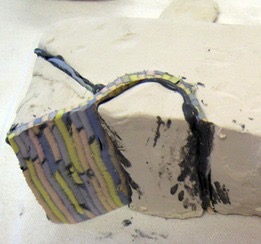
STEP FIVE - let it rest overnight then slice
Slice of the pattern fired to Cone 6
THE BIGGEST THINGS TO REMEMBER ARE TO KEEP YOUR HANDS CLEAN AND TO KEEP THE INTERIOR PATTERN CLEAN. KEEP A BUCKET OF WARM WATER BESIDE YOU SO YOU CAN EASILY CLEAN YOUR HANDS. USE A SPONGE TO CLEAN UP THE CLAY SURFACES. PATIENCE IS KEY … DO IT RIGHT AND YOU CAN MAKE A WHOLE SET OF DISHES FROM ONE BLOCK OF CLAY.
CLICK HERE TO SEE MY ‘DIVA’ DISHES- made this way.
BELOW are images of work on another pattern