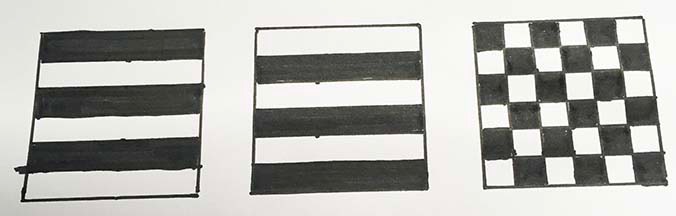
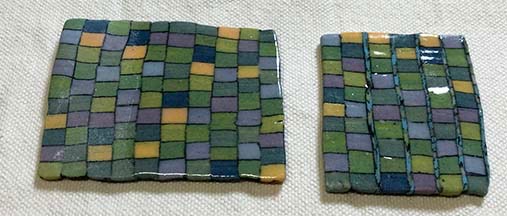
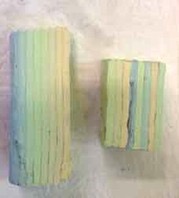
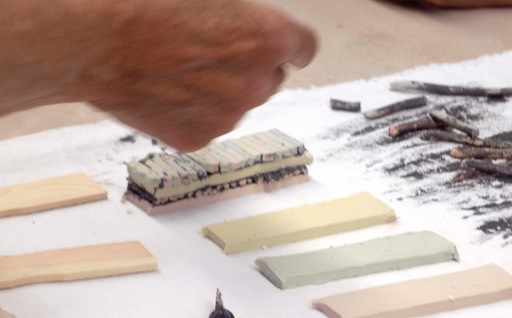
For any checked pattern create a block using equal slices of two colors … or as many contrasting colors as you like. Make sure the two ends do not have the same color. You flip every second piece so the colors are opposite each other as seen in the two left hand pieces below.
Then you re-stack them taking care to make sure the pattern matches on all sides.
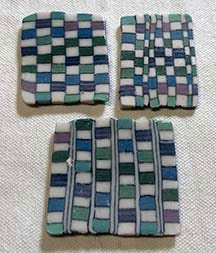
Use a light coat of slip or a quick spritz of water between layers. The right side above has with slip, left side doesn’t.
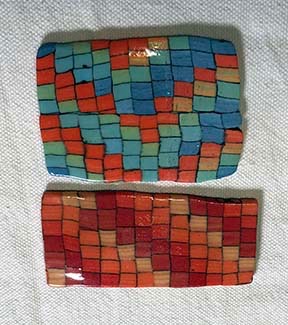
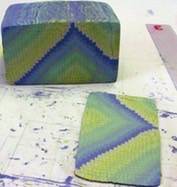
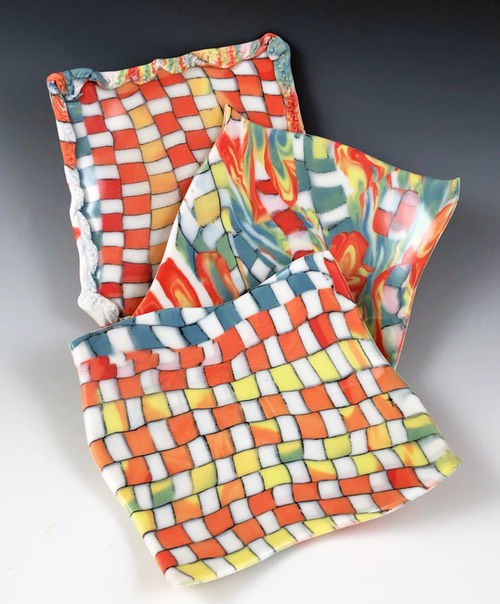
This variety of checks was made from the same Skinner blend sheet.
Just adding white/color and varying sizes makes the difference.
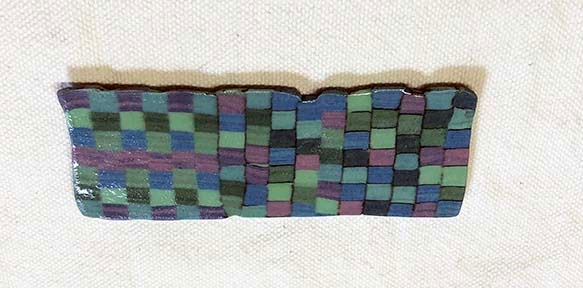
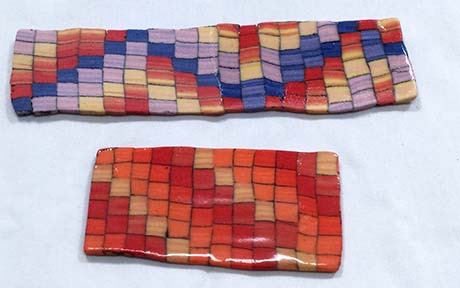
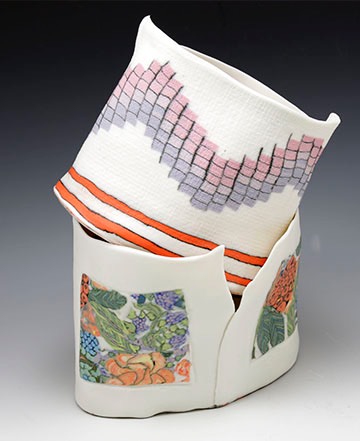
However, you do not have to stick to two colors.
You can stack whatever you want in any order or pattern you want … with or without slip.
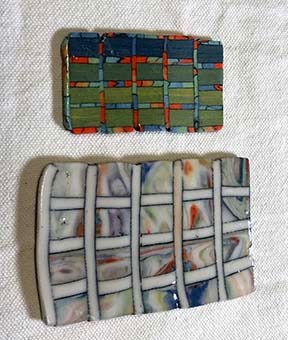
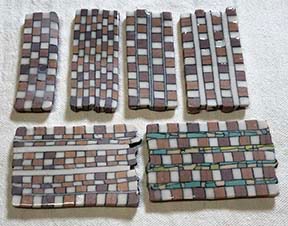
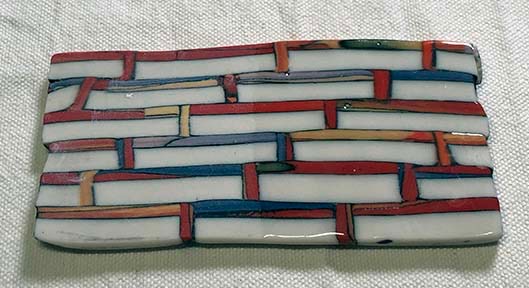
These were inspired by window panes and brick walls … go with your own creative ideas.
When you are done, gently drop this on all sides to firm up the attachment. Wrap the loaf in a dampish cloth, seal it in a plastic bag and let the loaf rest overnight before using.
Store the finished loaves on the sides like this so the weight of the loaf does not squash your pattern.
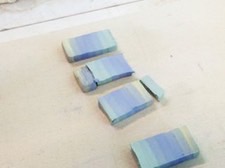
Sometimes with multiple colors, you cannot simply alternate the slices because the center stays the same. The slices on the right all have the same two colors in the middle. This can ruin a random look.
The fix for this is simple. You cut apart the layers and move the center colors to the top or bottom.

If you want to create a precise check that holds its shape, you have to let the slices set up a bit until they are firm.

This is true for inserts of extrusions that you want to keep round or square. They have to be firm.
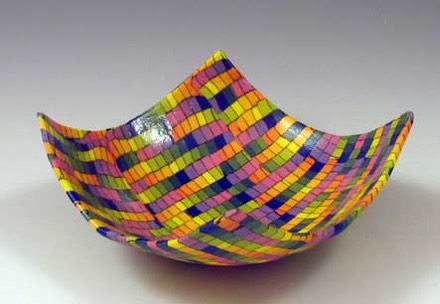
Here are some pieces made with a checked pattern.
Saving patterns over the years involves rotating them every so often because the side it is resting on will start to compress under the weight above and thin out thus ruining your design.
A recommended way to store your patterns is to wrap them in a damp cloth ( I use torn up old T-shirts ) then wrap in plastic and store in a plastic bag or container. I always fire a small sample to keep with the cane for easy identification.
Thanks to Erika Sanger, Judy Goodstein & Heidi McKenzie for the images.